Laravel Setup MailHog on openSUSE for development on Laravel
MailHog is an email testing tool that can be very handy in web development and it's very easy to set up. I am using it in my local set up with Laravel 9.

MailHog is easy to set up and avoids developers the need to require a full-fledged SMTP server to test mail capabilities in their web application. Using MailHog with Laravel is straight forward as well.
To install MailHog on openSUSE you need to install Go.
sudo zypper in goThen, get the Mailhog binary.
go get github.com/mailhog/MailHogThe Mailhog binary will be available in the ~/go/bin directory. You can run it directly from there or add that to your PATH environment.
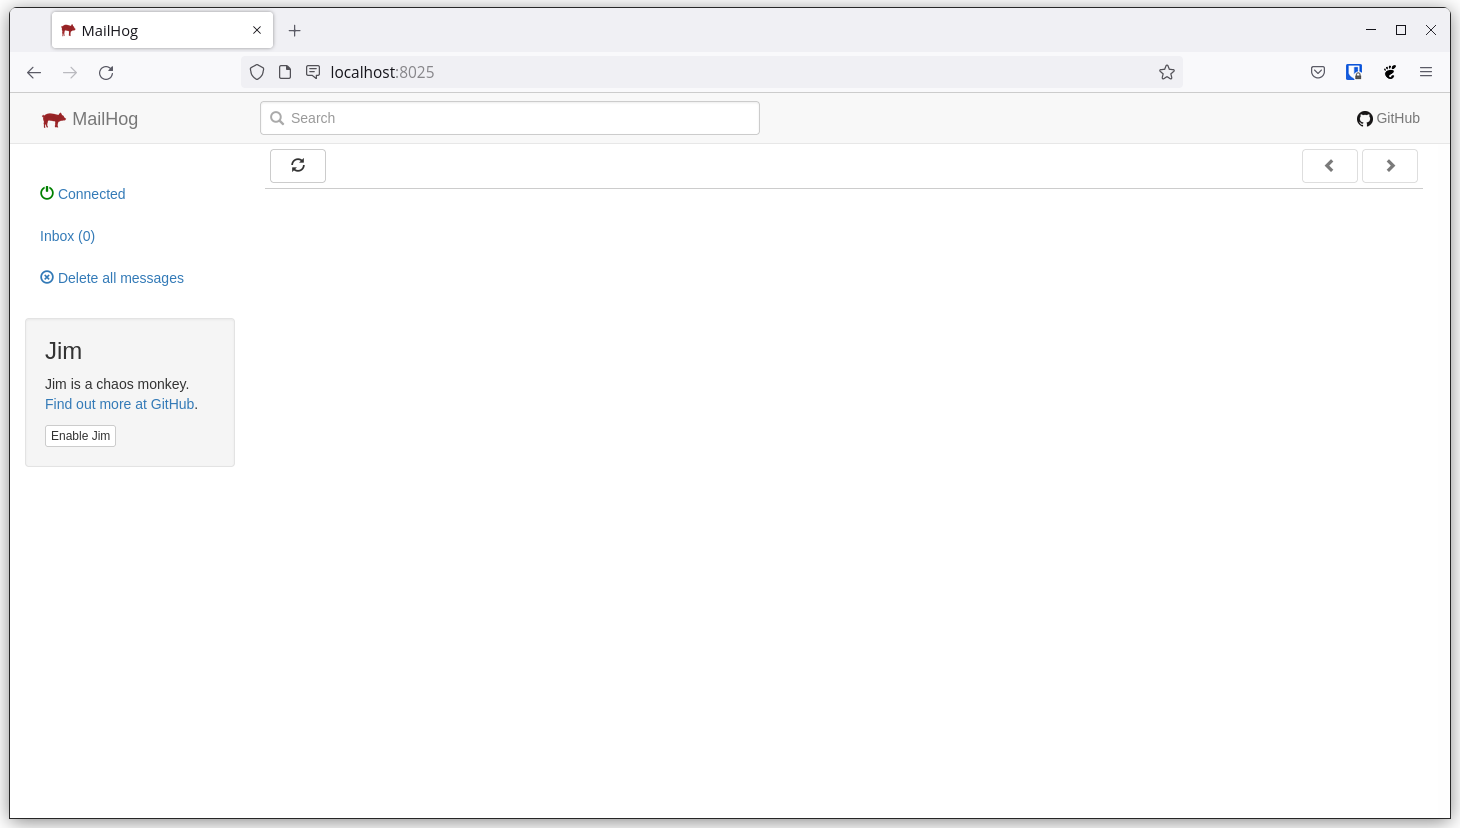
Once, you've executed the Mailhog binary, the application will be running on port 8025.
ish@coffee-bar:~> ~/go/bin/MailHog
2022/02/27 10:44:03 Using in-memory storage
2022/02/27 10:44:03 [SMTP] Binding to address: 0.0.0.0:1025
[HTTP] Binding to address: 0.0.0.0:8025
2022/02/27 10:44:03 Serving under http://0.0.0.0:8025/
As you can see above, a SMTP service will be available on port 1025. It's part of MailHog and you need to do nothing to configure it.
To check the incoming emails you just have to head to the web application running on port 8025.
To enable your Laravel application to use MailHog, update the .env file with these parameters.
MAIL_MAILER=smtp
MAIL_HOST=0.0.0.0
MAIL_PORT=1025
MAIL_USERNAME=null
MAIL_PASSWORD=null
MAIL_ENCRYPTION=null
[email protected]
MAIL_FROM_NAME="${APP_NAME}"
All the emails sent using your Laravel app on your local machine will be available to be viewed on the MailHog web application.